2022年9月8日:
.zpreztorcの設定でロードするモジュールの順番について記載しました。
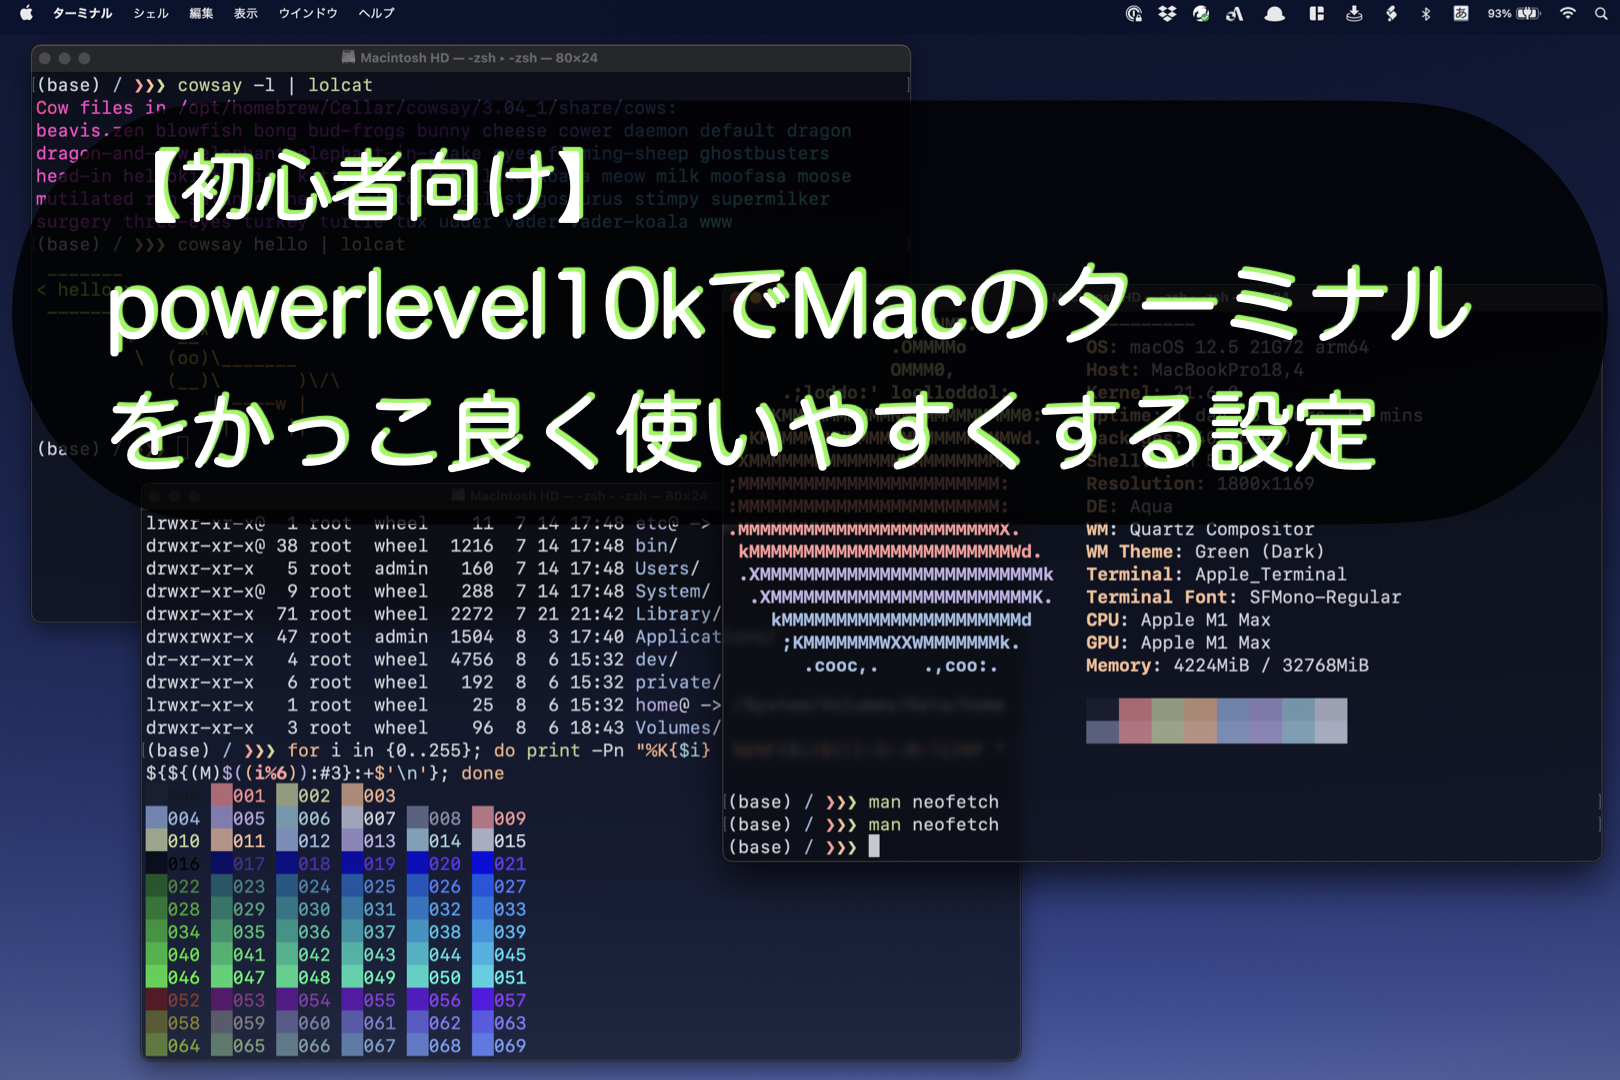
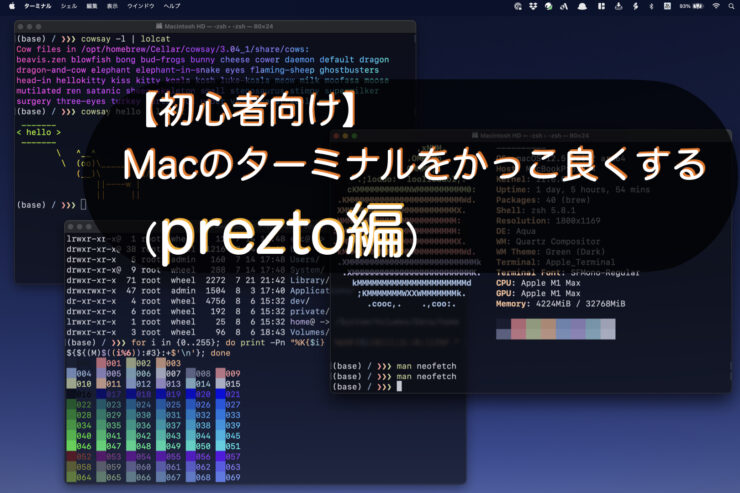
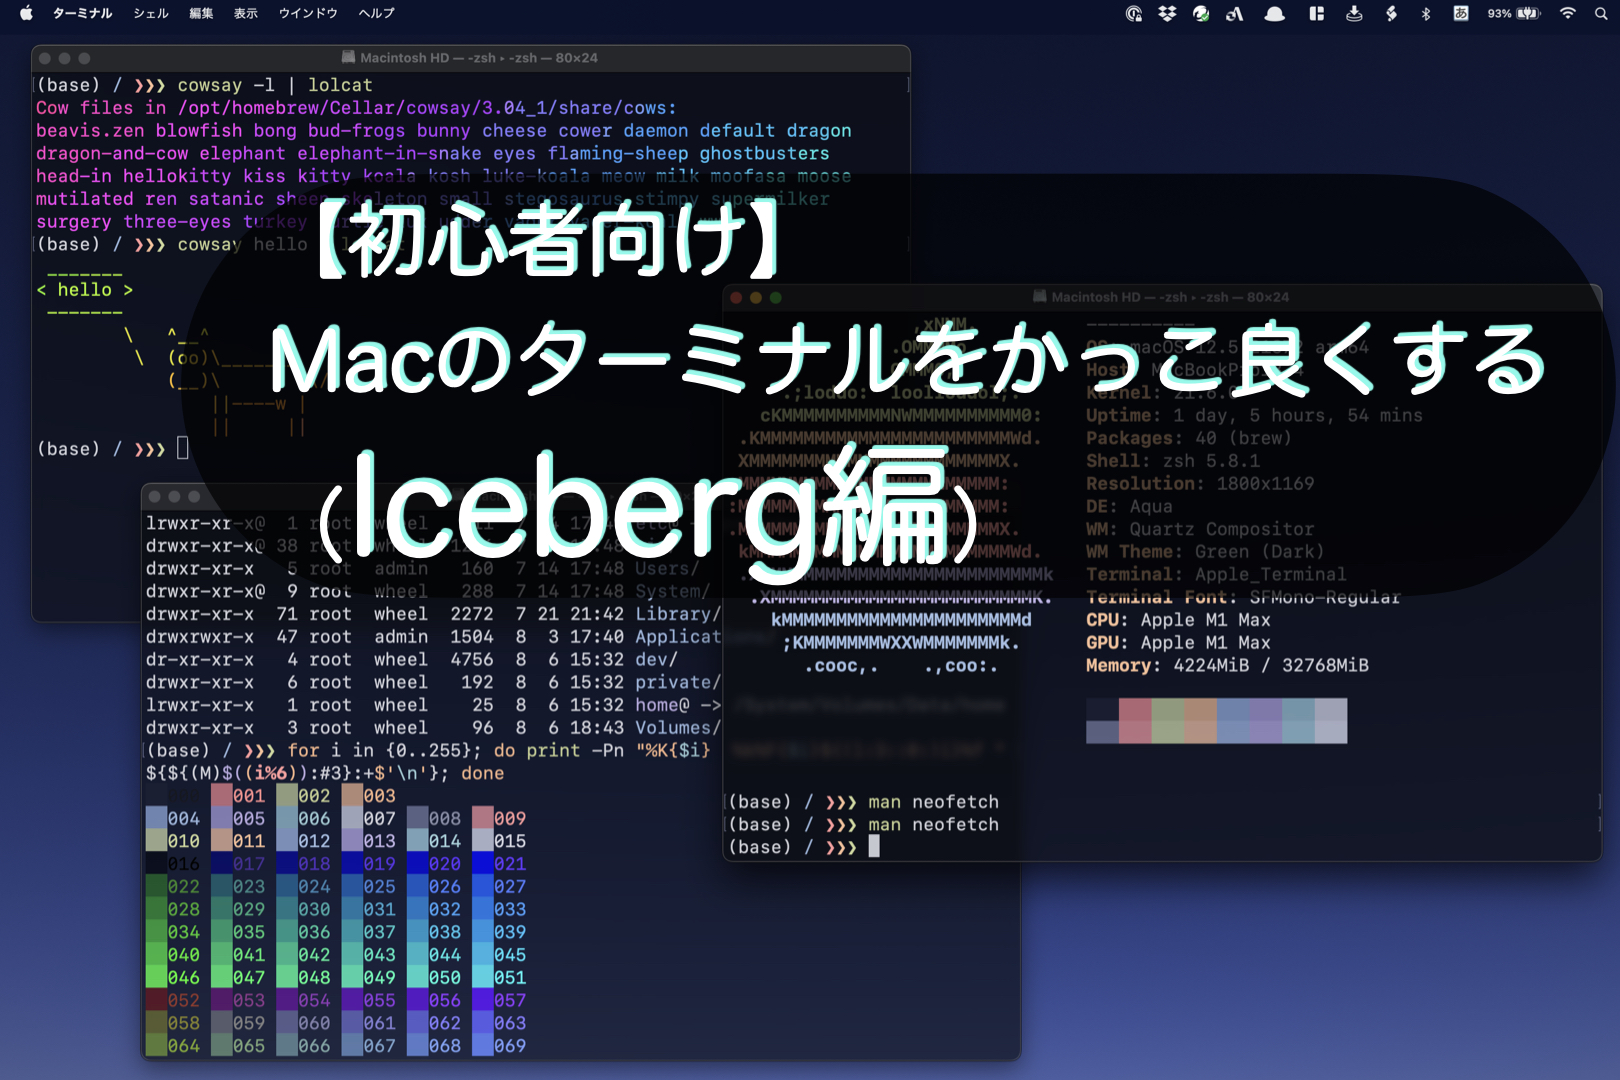
こんにちは。ナミレリです。みなさん、Macのターミナルは使ってますか?
使っている方も使っていない方も味気ないデフォルトのターミナルからかっこ良く使いやすいターミナルに変更する方法を紹介します。今回は「prezto」編です。

この記事はこんな人にオススメ
- プロンプトをかっこ良くしたい!
- zshのコマンド補完をより強力にしたい!
- ターミナルの作業効率とモチベをあげたい!
preztoはzshのフレームワークで気の利くエイリアスや関数、補完が設定されていて、カッコイイプロンプトのテーマが多数入っています。preztoでターミナル環境が豊かになります。
この記事でわかること
- preztoのインストール方法
- neofetchでターミナルのかっこよさを体験する方法
- preztoのプロンプトテーマの確認方法
- ロードするモジュールの順番

また、ターミナルの使い方については下記の記事でまとめています。ぜひご覧ください。
- M2 MacBook Air
- macOS Monterey 12.5
- ターミナル バージョン2.17(445)
目次
そもそもpreztoってなに?
preztoはzshのフレームワークで様々な関数や自動補完、様々なプロンプトテーマが入っておりコマンドラインやターミナルを豊かに便利にしてくれます。
preztoはMacだけでなくLinuxでも使えるのでMacやLinuxを行き来して使う場合でも、ターミナルやzshを同じ環境で構築できます。
念のためzshのバージョンを確認してみましょう。
zsh --version
zsh 5.8.1 (x86_64-apple-darwin21.0)
preztoのインストール
それでは「prezto」をインストールします。
- STEP
zshを起動する
ターミナルを起動します。zshであることを確認します。
echo $SHELL /bin/zsh echo $0 -zsh - STEP
リポジトリをクローンする(重要:下記は一行です)
git clone --recursive https://github.com/sorin-ionescu/prezto.git "${ZDOTDIR:-$HOME}/.zprezto" - STEP
zshのEXTENDED_GLOBオプションを設定します。
setopt EXTENDED_GLOB - STEP
インストールされたzsh設定ファイルをコピー/リンクして、新しいzshの設定ファイルを作成します。(重要:長いですが一行です)
for rcfile in "${ZDOTDIR:-$HOME}"/.zprezto/runcoms/^README.md(.N); do
  ln -s "$rcfile" "${ZDOTDIR:-$HOME}/.${rcfile:t}"
done
ターミナルを再起動しpreztoの確認
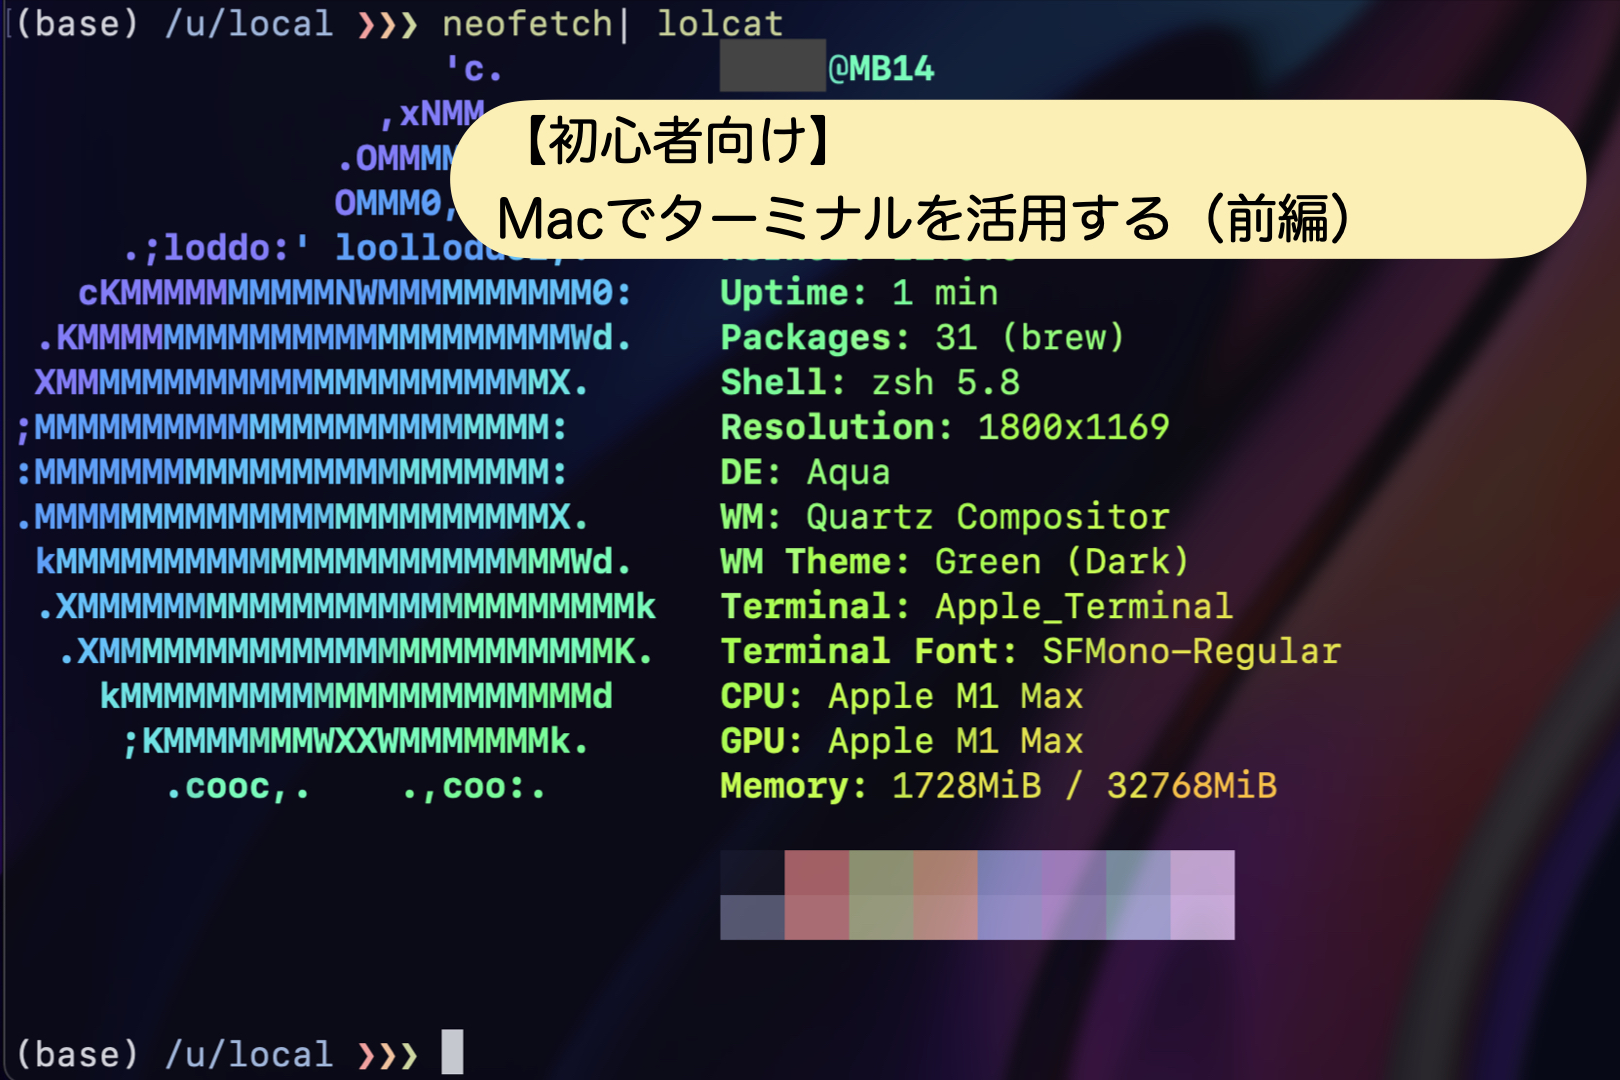
ターミナルを再起動すると、プロンプトが下記のようにかっこ良くなっていると思います。下記のスクリーンショットではプロンプトに「(base)」とありますがこれは「pyenv」というpythonのバージョン管理の表示です。気にしないでください。
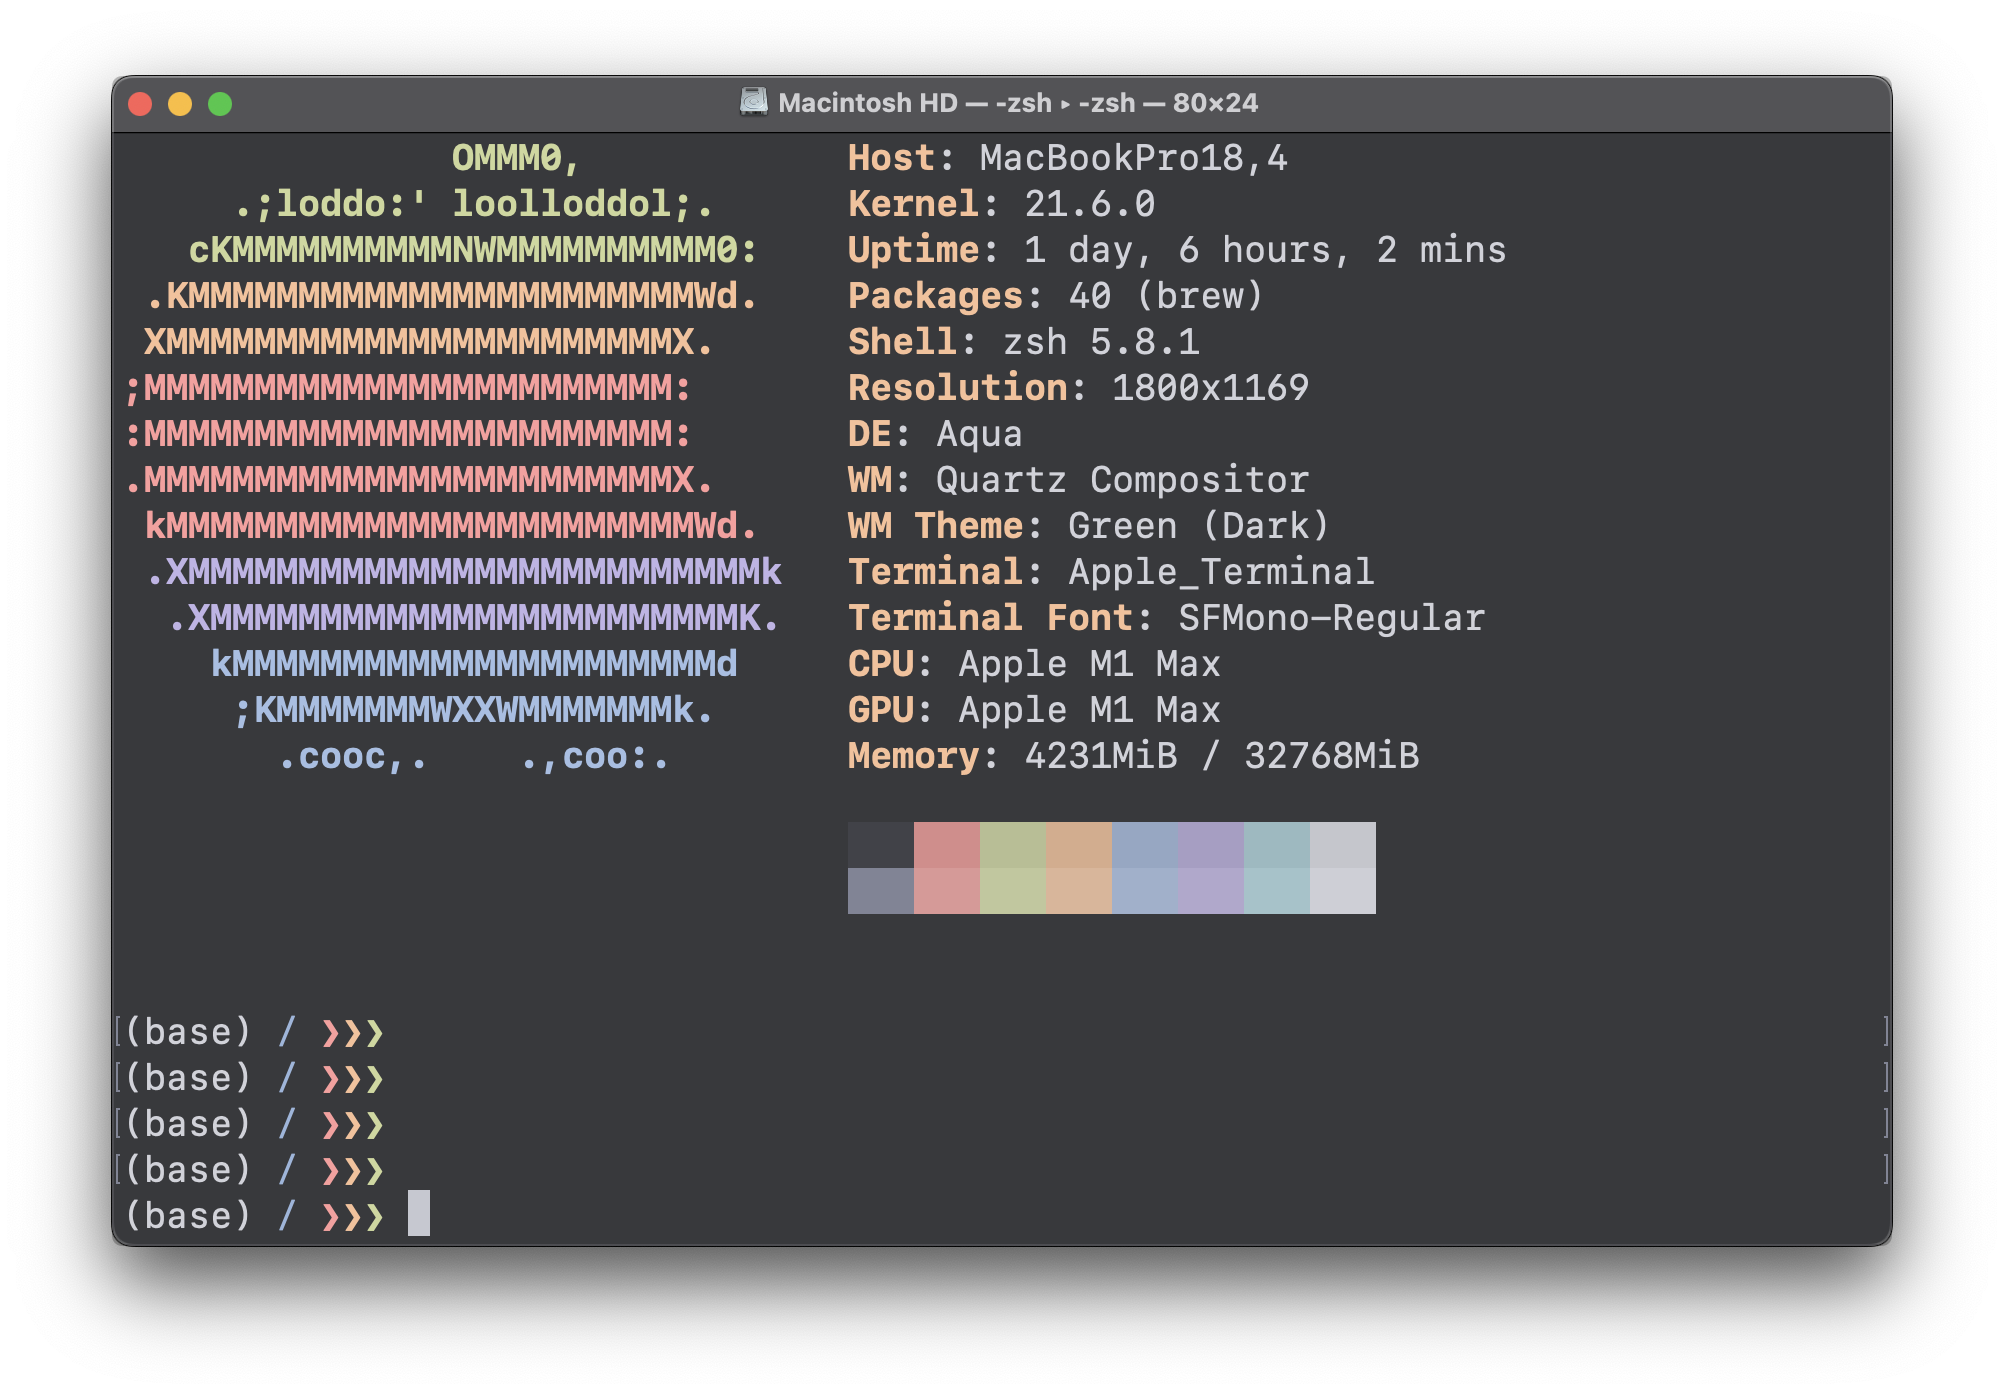
また、カラフルなリンゴマークの横に各種のシステム情報が表示されています。これは「neofetch」というコマンドです。興味のあるかたはbrewでインストールしてください。
brew install neofetch
rehash
neofetch
preztoの設定
preztoのファイル構造
preztoをインストールすると、ホームディレクトリの.zprezto/runcoms/配下の各ファイルに下記のようにシンボリックリンクが貼られます。
ls -al
lrwxr-xr-x   1 tu  staff     36  7 31 11:12 .zlogin@ -> /Users/tu/.zprezto/runcoms/zlogin
lrwxr-xr-x   1 tu  staff     37  7 31 11:12 .zlogout@ -> /Users/tu/.zprezto/runcoms/zlogout
drwxr-xr-x  13 tu  staff    416  7 31 11:11 .zprezto/
lrwxr-xr-x   1 tu  staff     39  7 31 11:12 .zpreztorc@ -> /Users/tu/.zprezto/runcoms/zpreztorc
lrwxr-xr-x   1 tu  staff     38  7 31 11:12 .zprofile@ -> /Users/tu/.zprezto/runcoms/zprofile
-rw-------   1 tu  staff  11038  9  8 13:33 .zsh_history
drwx------  48 tu  staff   1536  9  7 16:16 .zsh_sessions/
lrwxr-xr-x   1 tu  staff     36  7 31 11:12 .zshenv@ -> /Users/tu/.zprezto/runcoms/zshenv
lrwxr-xr-x   1 tu  staff     35  7 31 11:12 .zshrc@ -> /Users/tu/.zprezto/runcoms/zshrc
プロンプトのテーマの確認
prompt -lでテーマ一覧を表示して、prompt -pでプロンプトのテーマをプレビューできます。
prompt -l
Currently available prompt themes:
agnoster cloud damoekri giddie kylewest minimal nicoulaj paradox peepcode powerlevel10k powerline pure skwp smiley sorin steeef adam1 adam2 bart bigfade clint default elite2 elite fade fire off oliver pws redhat restore suse walters zefram
prompt -pにprompt -lで確認したテーマ名を引数に与えるとそのテーマをプレビューできますし、テーマ名を引数に与えない場合は全テーマがプレビューされます。
prompt -p sorin
prompt -p pure
prompt -p
私はデフォルトテーマの「sorin」が気に入っています。矢印がカッコイイです。
プロンプトのテーマを設定する
テーマは.zpreztorcの133行目のzstyle ‘:prezto:module:prompt’ theme ‘sorin’の値を変更し設定します。sorinからbigfadeにしてみましょう。
vi .zpreztorc
# Set the prompt theme to load.
# Setting it to 'random' loads a random theme.
# Auto set to 'off' on dumb terminals.
zstyle ':prezto:module:prompt' theme 'bigfade'
アップデートする
zprezto-updateでpreztoのアップデートがあるかどうかを自動的に確認してくれます。
zprezto-update
アップデートがない場合は下のようにその旨が表示されます。
zprezto-update
There are no updates.
アップデートがある場合は下のようにチェックが行われアップデートがあることを教えてくれます。またファイルにコンフリクトがない場合は自動で更新してくれます。
zprezto-update
remote: Enumerating objects: 9, done.
remote: Counting objects: 100% (9/9), done.
remote: Compressing objects: 100% (5/5), done.
remote: Total 9 (delta 4), reused 5 (delta 4), pack-reused 0
Unpacking objects: 100% (9/9), 1.69 KiB | 288.00 KiB/s, done.
From https://github.com/sorin-ionescu/prezto
   e3a9583..a4ca924  master     -> origin/master
Fetching submodule modules/prompt/external/powerlevel10k
From https://github.com/romkatv/powerlevel10k
   3516579..a066b55  master     -> origin/master
 * [new tag]         v1.17.0    -> v1.17.0
There is an update available. Trying to pull.
ちなみに、zprezto-updateに手動でgitで確認しアップデートするには下のようにします。
cd $ZPREZTODIR
git pull
git submodule sync --recursive
git submodule update --init --recursive
.zpreztorcの設定でロードするモジュールを設定する
私はsyntax-highlighting、autosuggestions、gitの3つを追加しています。記載する順番について下記のようになります。
syntax-highlightingは下のようにロードする必要があります。
- promptモジュールの前にロードする
- history-substring-searchモジュールの前にロードする
- autosuggestionsとpromptモジュールの前にロードする
syntax-highlightinghistory-substring-searchautosuggestionsprompt
Integrates zsh-syntax-highlighting into Prezto.
This module must be loaded before the prompt module.
If this module is used in conjunction with the history-substring-search module, this module must be loaded before the history-substring-search module.
Additionally, if this module is used in conjunction with the autosuggestions module, this module must be loaded before the autosuggestions module as well.
To elaborate, the relative order of loading the modules would be syntax-highlighting, history-substring-search, autosuggestions and prompt.
https://github.com/sorin-ionescu/prezto/blob/master/modules/syntax-highlighting/README.md
autosuggestionsは下のようにロードする必要があります。
- syntax-highlightingモジュールの後にロードする
- history-substring-searchモジュールの後にロードする
syntax-highlightinghistory-substring-searchautosuggestions
Integrates zsh-autosuggestions into Prezto, which implements the Fish shell’s autosuggestions feature, where the user can type in any part of a previously entered command and Zsh suggests commands as you type based on history and completions.
If this module is used in conjunction with the syntax-highlighting module, this module must be loaded after the syntax-highlighting module.
Additionally, if this module is used in conjunction with the history-substring-search module, this module must be loaded after the history-substring-search module as well.
To elaborate, the relative order of loading the modules would be syntax-highlighting, history-substring-search and autosuggestions.
https://github.com/sorin-ionescu/prezto/blob/master/modules/autosuggestions/README.md
gitは下のようにロードする必要があります。
- completionモジュールの前にロードする
gitcompletion
Enhances the Git distributed version control system by providing aliases, functions and by exposing repository status information to prompts.
This module must be loaded before the completion module so that the provided completion definitions are loaded automatically by completion module.
https://github.com/sorin-ionescu/prezto/blob/master/modules/git/README.md
ということで、syntax-highlighting、autosuggestions、gitの3つを追加する場合は下記のようになります。
vi .zpreztorc
# Set the Prezto modules to load (browse modules).
# The order matters.
zstyle ':prezto:load' pmodule \
  'environment' \
  'terminal' \
  'editor' \
  'history' \
  'directory' \
  'spectrum' \
  'utility' \
  'git' \
  'completion' \
  'syntax-highlighting' \
  'history-substring-search' \
  'autosuggestions' \
  'prompt'
下の記事でターミナルをより楽しく彩るコマンドを紹介しています。
Neovimをかっこ良くクールに使う設定


【番外】zsh-autocompleteでリアルタイムに補完する
補完をより強力にするためにzsh-autocompleteを設定してみます。zsh-autocompleteは入力中にリアルタイムに先行して補完候補を表示してくれます。好みに応じて設定してみてください。
では、まずzsh-autocompleteをgit cloneします。下のコマンドでカレントディレクトリにgit cloneされます。(今回はホームディレクトリにgit cloneします)
git clone --depth 1 -- https://github.com/marlonrichert/zsh-autocomplete.git
次に、.zshrcを編集します。編集する内容は下の2点です。
- source ~/zsh-autocomplete/zsh-autocomplete.plugin.zshを追加
- compinitを削除
zsh-autocomplete.plugin.zshが存在していたら読み込み、そうでなければautoload -U compinit && compinitする、という設定にしてみます。
if [ -f "$HOME/zsh-autocomplete/zsh-autocomplete.plugin.zsh" ]; then
  source "$HOME/zsh-autocomplete/zsh-autocomplete.plugin.zsh"
else
  autoload -U compinit && compinit
fi
.zshrcを設定後、シェルを再起動してリアルタイムの補完を確認してください。
最後に
最後まで読んでいただきありがとうございます。「【【初心者向け】Macのターミナルをかっこ良く使いやすくする設定(prezto編)」はいかがでしたでしょうか。
ターミナルを活用するとMacを使う景色が一変しまたMacの魅力もグッとアップします。Macの思想や大元がUnix系統であることをあらためて実感します。ぜひ皆さんもターミナルを活用してみてください。この記事がみなさんのMacライフに少しでもお役に立てたら幸いです。
MacやLinux、Pythonなど技術系のkindle本も豊富にあります。詳しくはこちらから。
Amazonの電子書籍読み放題サービス「Kindle Unlimited」でプライム会員を対象に、最初の3か月間を無料体験できるキャンペーンを実施中。マンガ、小説、ビジネス書、雑誌など500万冊から、好きな本を何冊でも読めるキャンペーンです。
初めてkindle unlimited 読み放題をご利用の方は30日間の無料で体験できます。
期間終了後は月額980円で、いつでもキャンセルできます。
200万冊以上が読み放題。お好きな端末で利用可能です。


定番おすすめ記事
Macを使う景色が一変しMacの魅力をグッをアップさせるターミナルを活用する記事をまとめました。ぜひご覧ください。